
Looking for a way to get read receipts for your emails? Waiting for people to reply to your emails can be very frustrating. Especially if you’re doing something important like waiting to hear back from a job application, then the silence can be deafening. And not knowing if your email has even been read can be the worst part.
While there are some options for emailing from a computer, your choices on mobile are nearly non-existent.
Until now! Mailsuite’s read receipts for Gmail makes it possible to track the read status of emails you send. And now, the software is available for iOS devices and Android phones, as well as on computers.
The add-on is free and sets no limit to the number of emails that can be tracked. The only change you have to make is to accept having “Sender notified by Mailsuite” included in your email signature, which can always be removed whenever you send an email.
You can then get a number of useful metrics to go along with the add-on, like what time your emails get read and who is opening them. These pieces of information can be particularly useful if you’re working in fields like sales or marketing.
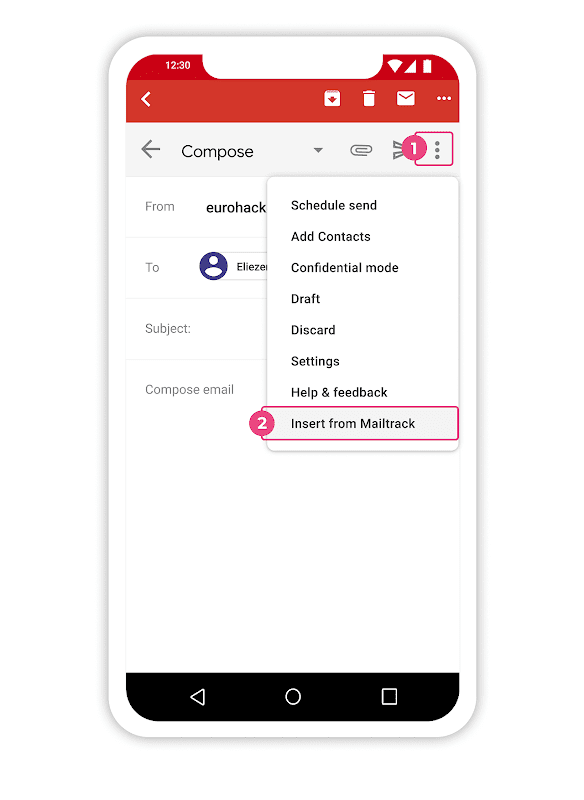
Here’s how to install Mailsuite on your iOS or Android device.
How to track emails on an iOS device
Before you add Mailsuite to your iOS device, you need to install it to Chrome first. This process is straightforward and takes less than a minute to complete. If you haven’t done this yet, click this link to read how to install Mailsuite for Chrome.
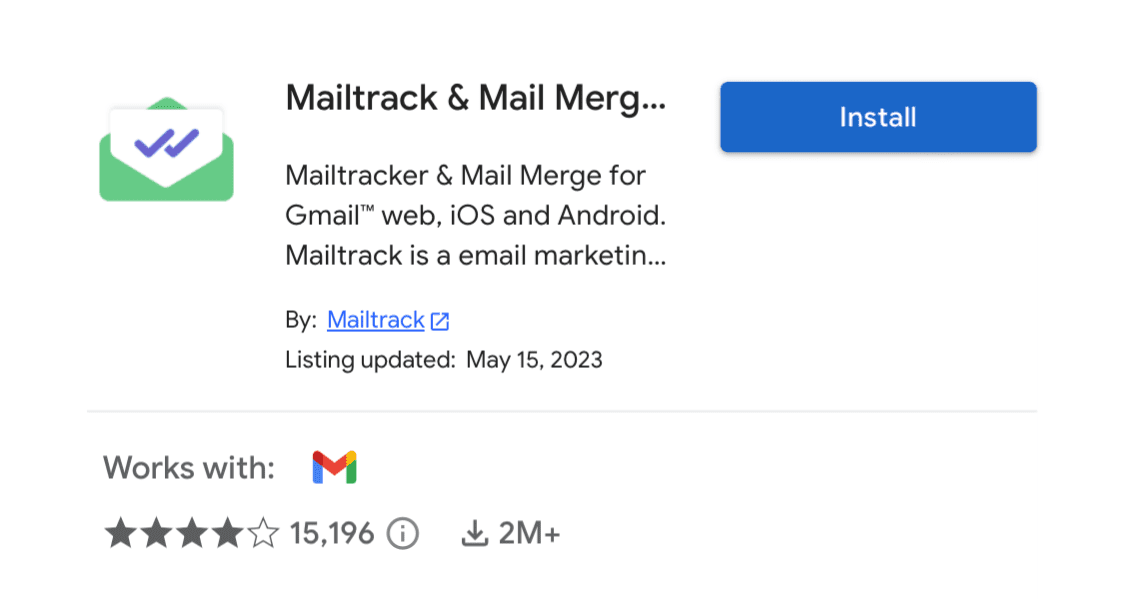
- In the G Suite Marketplace, find the Mailsuite add-on page. Click the “Install” button.

- A small window will pop up requesting permission to start downloading. Click “Continue”.

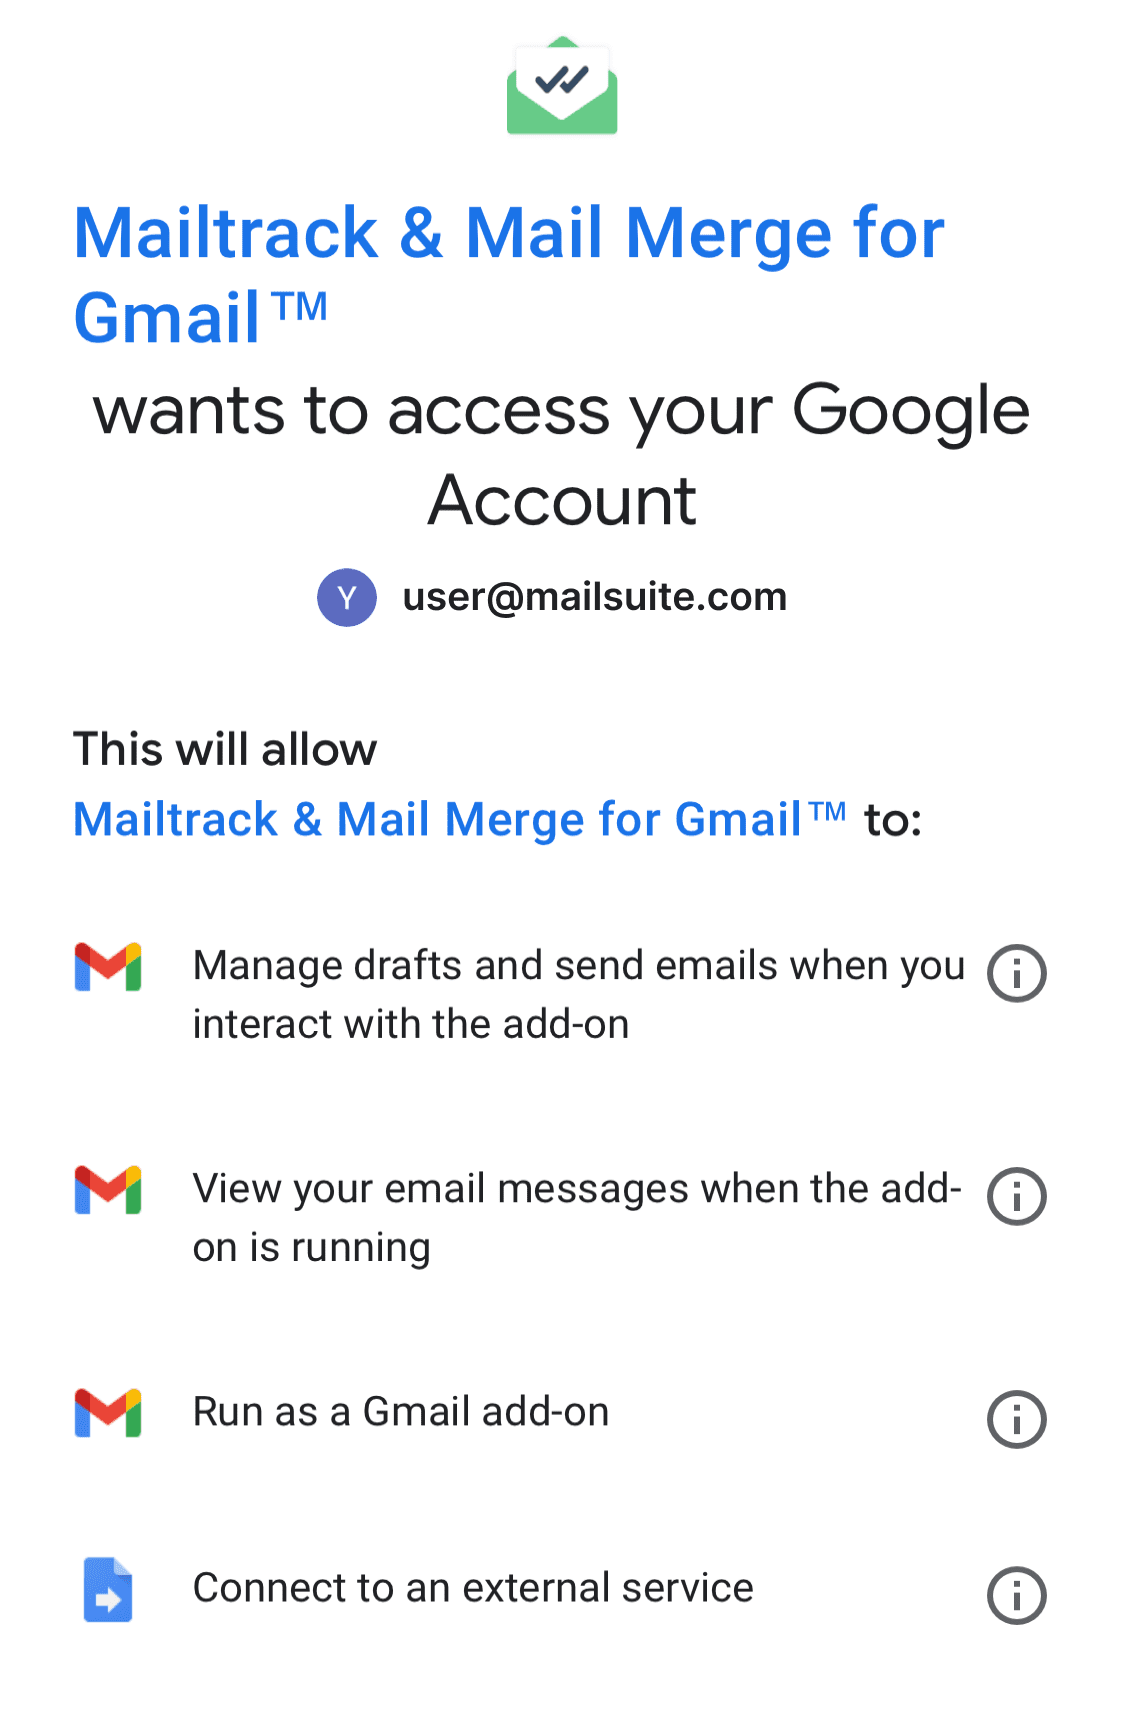
- A new window will now pop up. Here, choose which Gmail account you wish to link to Mailsuite for read receipts.
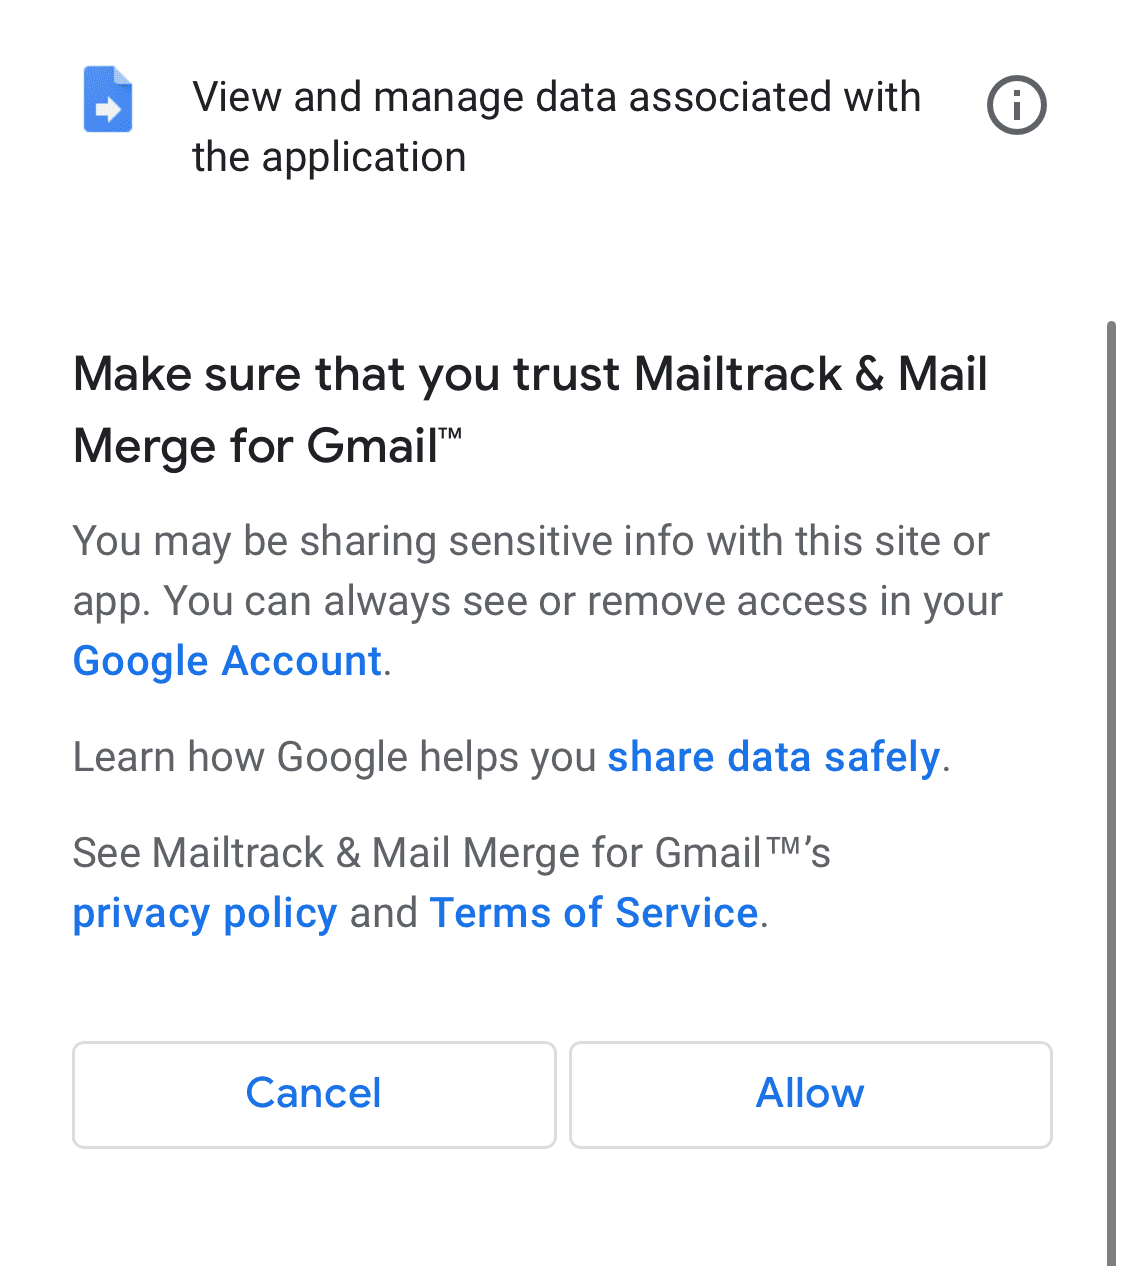
- The next part will be asking for permission. Click the “Allow” button to continue. At this point, the installation will begin. You can read the exact details of the use of permissions by Mailsuite here.

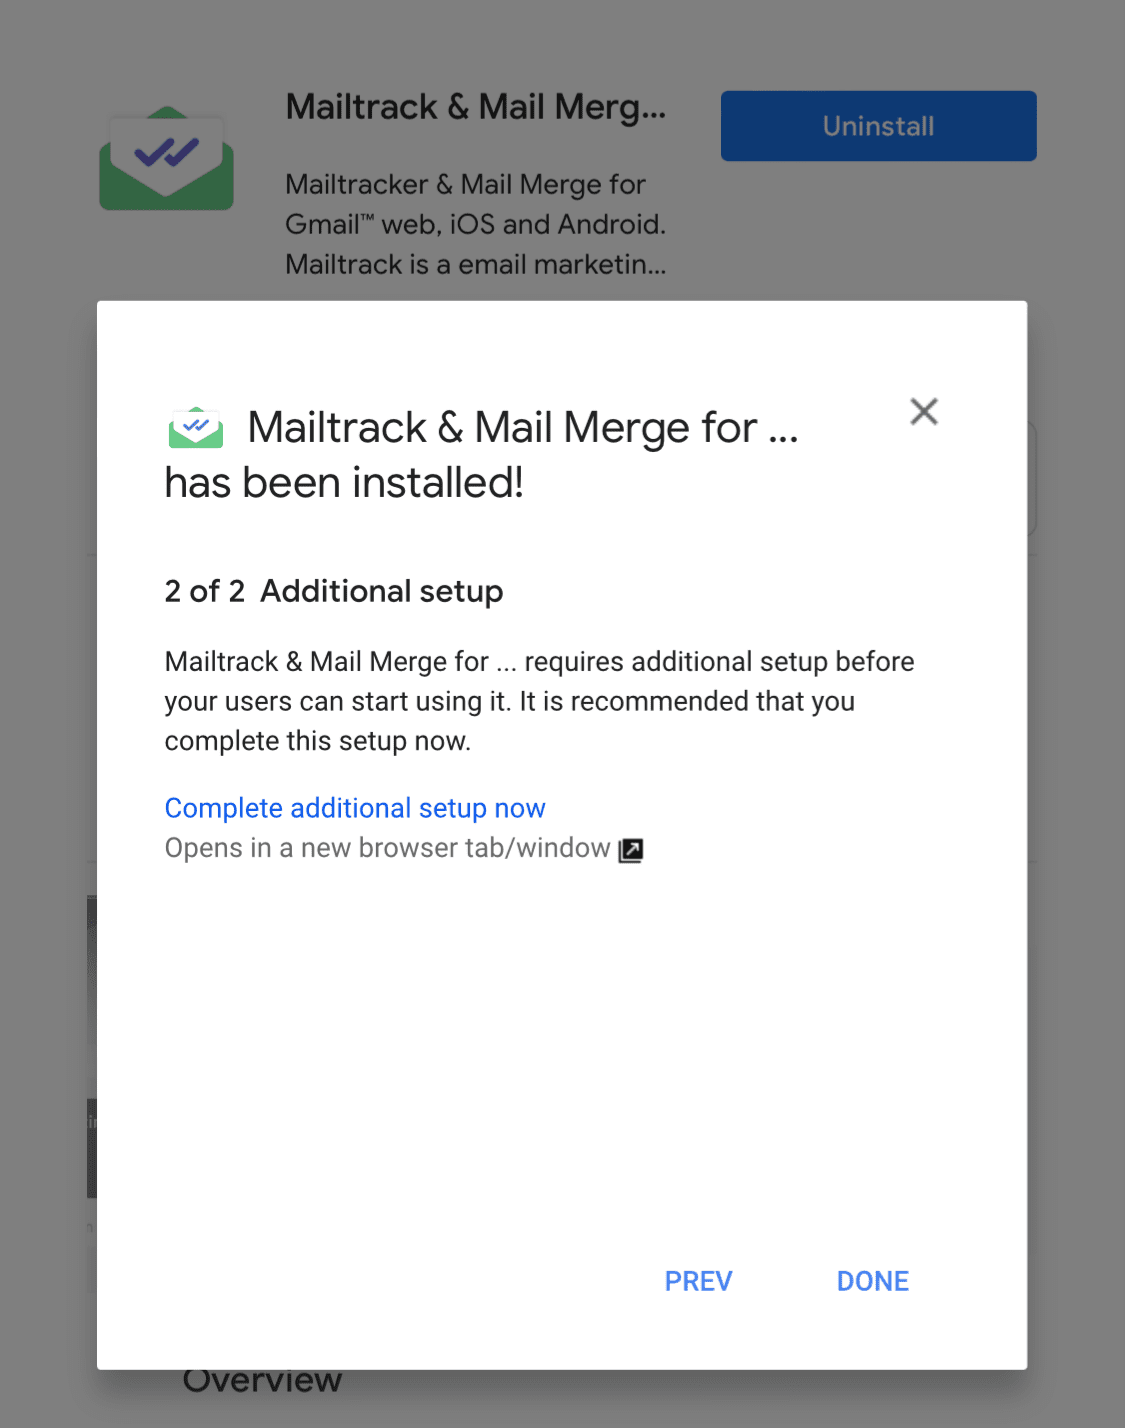
- Once the installation is complete, you will get a confirmation message.

- Close your Gmail app. The easiest way to do this is by opening the App Switcher, finding Gmail, and swiping it upwards. Alternatively, you can just restart your phone. Once you open up Gmail again, Mailsuite will be installed, and you can start sending tracked emails.

That’s it. You’re done and ready to use read receipts when sending email from your iPhone or iPad. Have a try now and enjoy your professional email experience.
Photo credit: The feature image has been taken by Bernardo Ramonfaur.
Editorial notice: Update on the 20th of March 2024 – Following a rebranding activity of the service provider, all mentions of the previous brand name, Mailtrack, have now been updated to reflect the correct and current brand name, Mailsuite. The links and screenshots in the article have also been updated to reflect the current process for this tutorial.